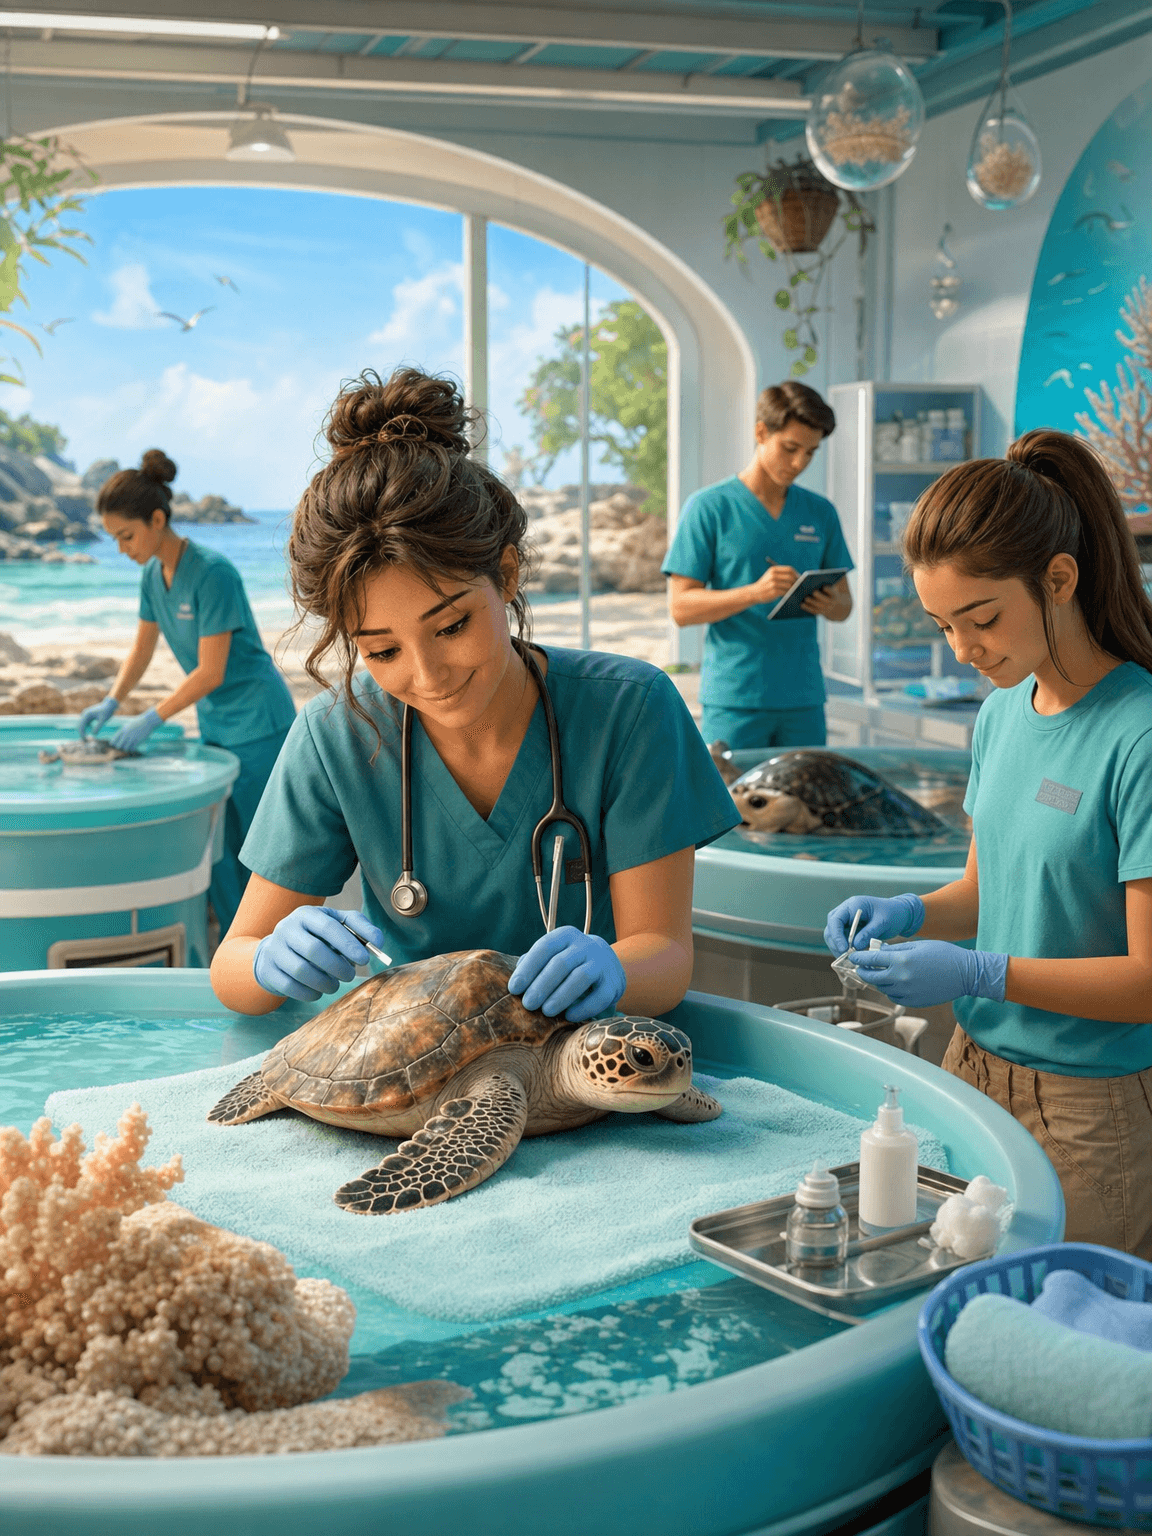
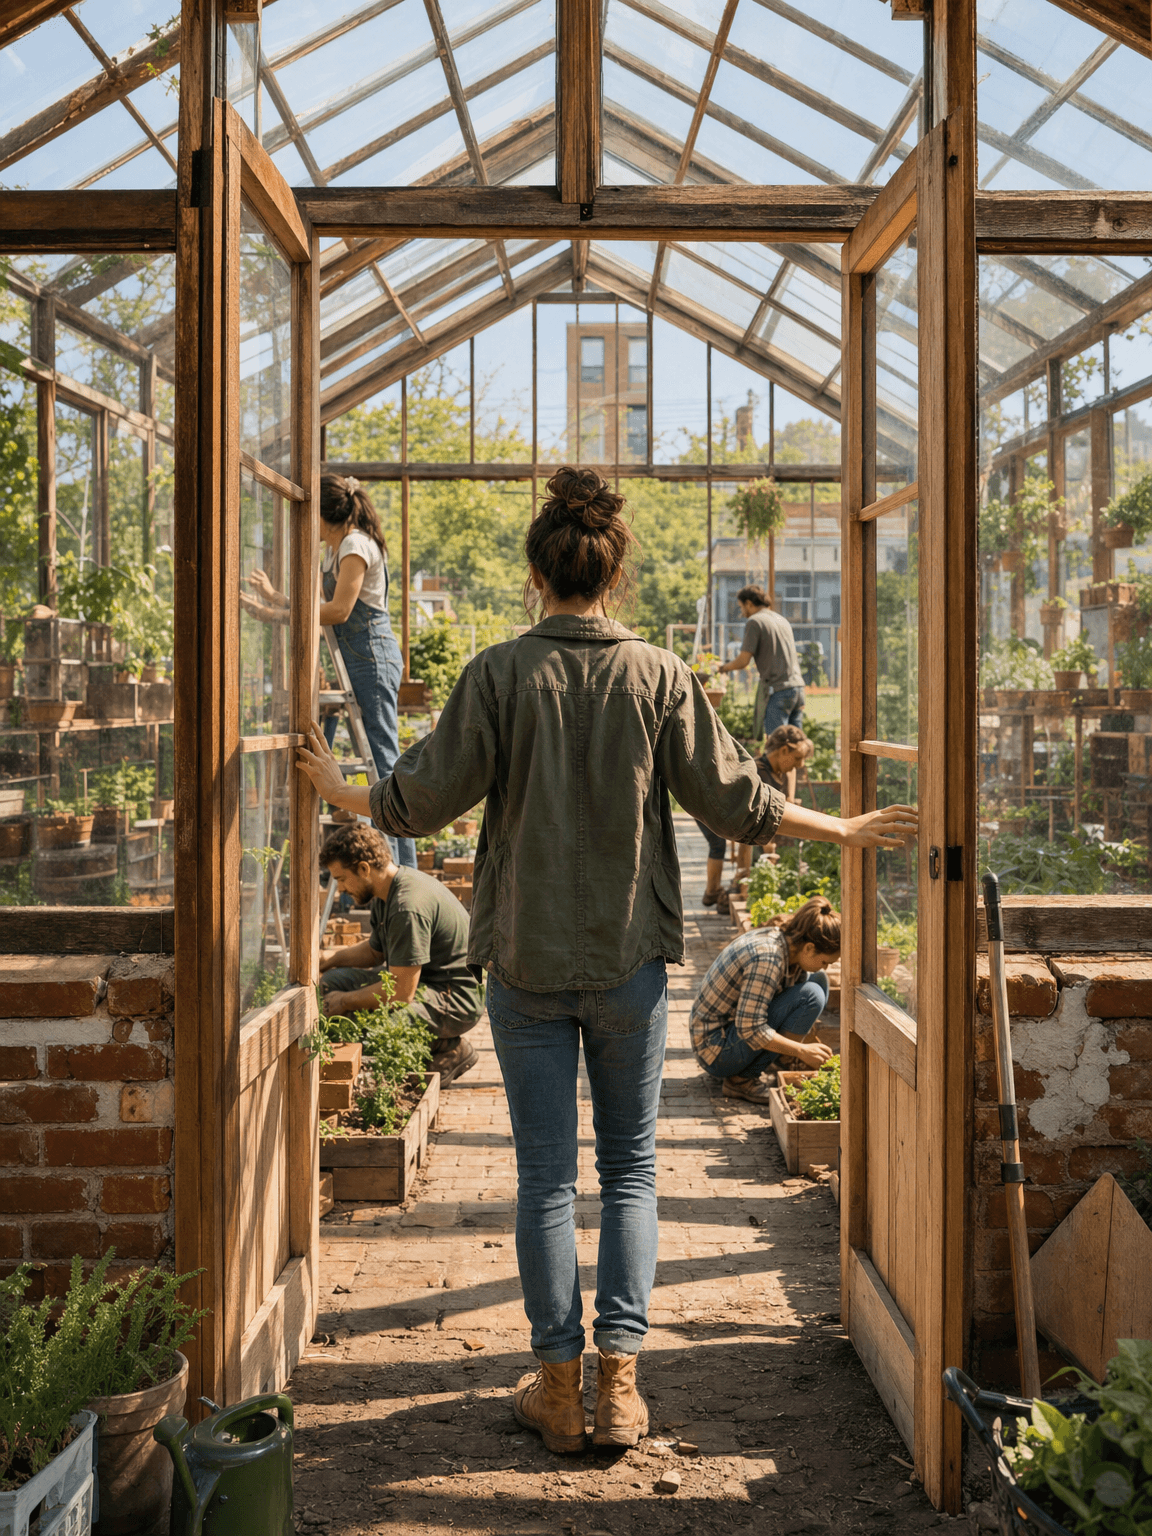
Start with a visual promise, not a list of shots.
A credible before-to-after journey focused on process, setbacks and sustainable progress.
The workflow turns one controlled creative brief into a complete storyboard sheet. Each scene advances the same story while the character bible, palette, recurring objects and environment references keep the visual world coherent.
Lifestyle brands, coaches, nonprofits and renovation creators.
Define a transformation that can be shown through repeated actions and visible milestones.
Why a strong storyboard changes the final result.
Transformation content earns trust through visible process. A storyboard distinguishes sustainable progress from an unsupported before-and-after claim.
A storyboard is not a contact sheet of attractive images. It is the cheapest place to solve narrative logic, direct attention and test continuity before those decisions become expensive animation problems. It gives every collaborator the same definition of the story: what the audience knows, what changes in each shot and which visual facts must never drift.
What weak boards get wrong
Skipping directly from problem to perfect result without labor, adjustment, setback or time passing.
Build meaning across cuts
Repeat two matched compositions at milestones while allowing tools, posture and environment to record accumulated effort.
Identify one visible proof of work in every middle panel. Replace any decorative montage frame that shows no progress.
Configure the workflow before generating.
Choose a focused premise
Define a transformation that can be shown through repeated actions and visible milestones.
Build the subject and world
Describe the starting state, motivation, plan, resources, setback and realistic final state.
Lock continuity rules
Preserve the same person, place and anchor objects while change accumulates.
Set the directing logic
Use matched camera angles at key milestones to make progress measurable.
Leave one recognizable element unchanged so the audience can compare the transformation instantly.
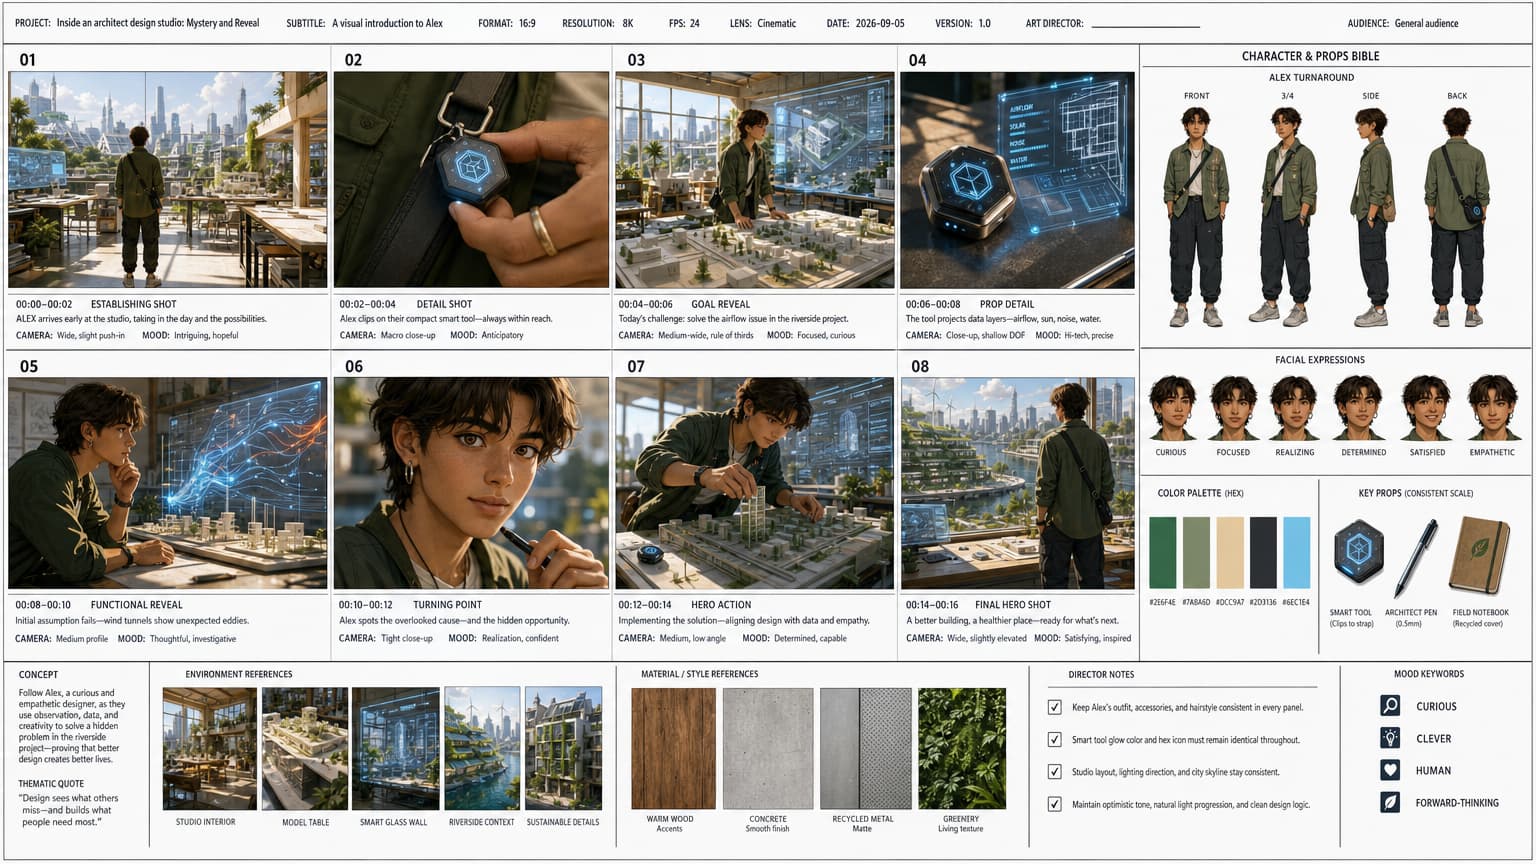
Make every frame perform a different job.
Shots 01–02 · Establish
Introduce the world, protagonist and immediate visual question. Move from a readable wide shot to one meaningful detail.
Shots 03–04 · Reveal the goal
Clarify what must change, then show the object, relationship or obstacle that makes the goal specific.
Shots 05–06 · Turn the story
Show consequence and realization. This pair should change the protagonist’s understanding, not merely repeat the action.
Shots 07–08 · Act and resolve
Deliver the decisive action and a final image that proves the emotional or practical outcome.
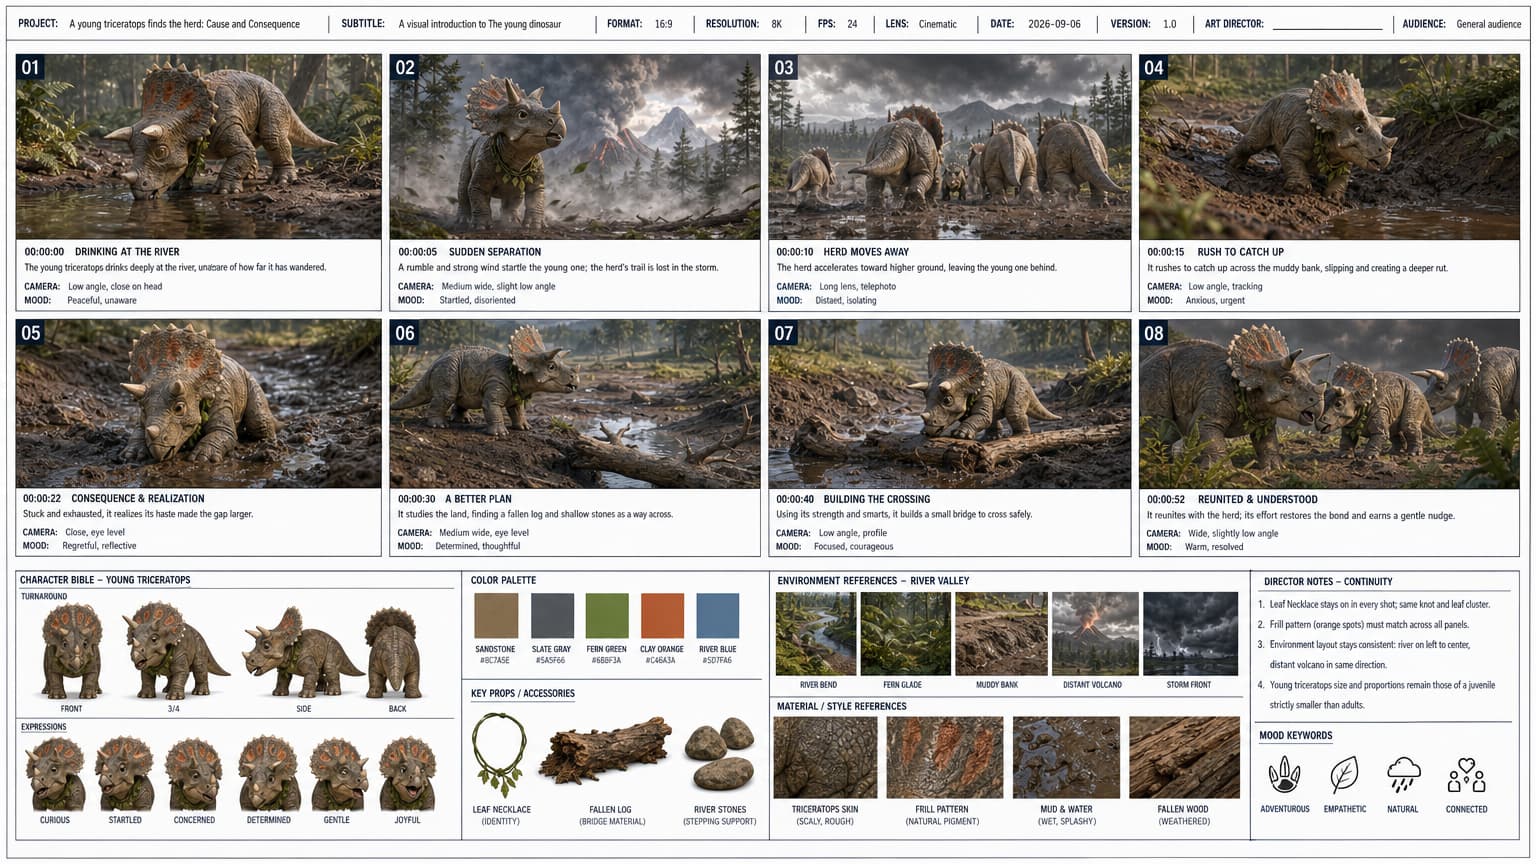
Review the sheet before animation.
Avoid miraculous jumps, unsafe claims and an implausibly perfect result.
- The protagonist, wardrobe and defining features match in all eight scenes.
- Every shot advances the story and uses a purposeful camera scale.
- Props, geography, lighting and visible consequences remain continuous.
- The final frame resolves the premise and provides a strong animation source.
- No accidental text, duplicated anatomy or unexplained artifact appears in the sheet.
Once the storyboard is approved, open the video step, select the intended motion quality and send the reference image to Seedance 2.0. Keep the animation prompt focused on movement, camera behavior, timing and sound rather than redesigning the scene.
Build this storyboard.
Open the configured workflow and turn your premise into eight production-ready scenes.